These Vegan Chocolate Coated Coconut Truffles are the perfect little treats : creamy, coconutty, coated in dark chocolate… and such a simple recipe !
Ah, chocolate… When I think of comfort, I definitely think of chocolate. And at that time of the year, when the weather is all gloomy and rainy, we all need something comforting ! Given that dark chocolate is one my favorite things, and that this is my first blog post, it only seemed appropriate to start with something covered in chocolate.
Chocolate & Coconut: a match made in heaven…
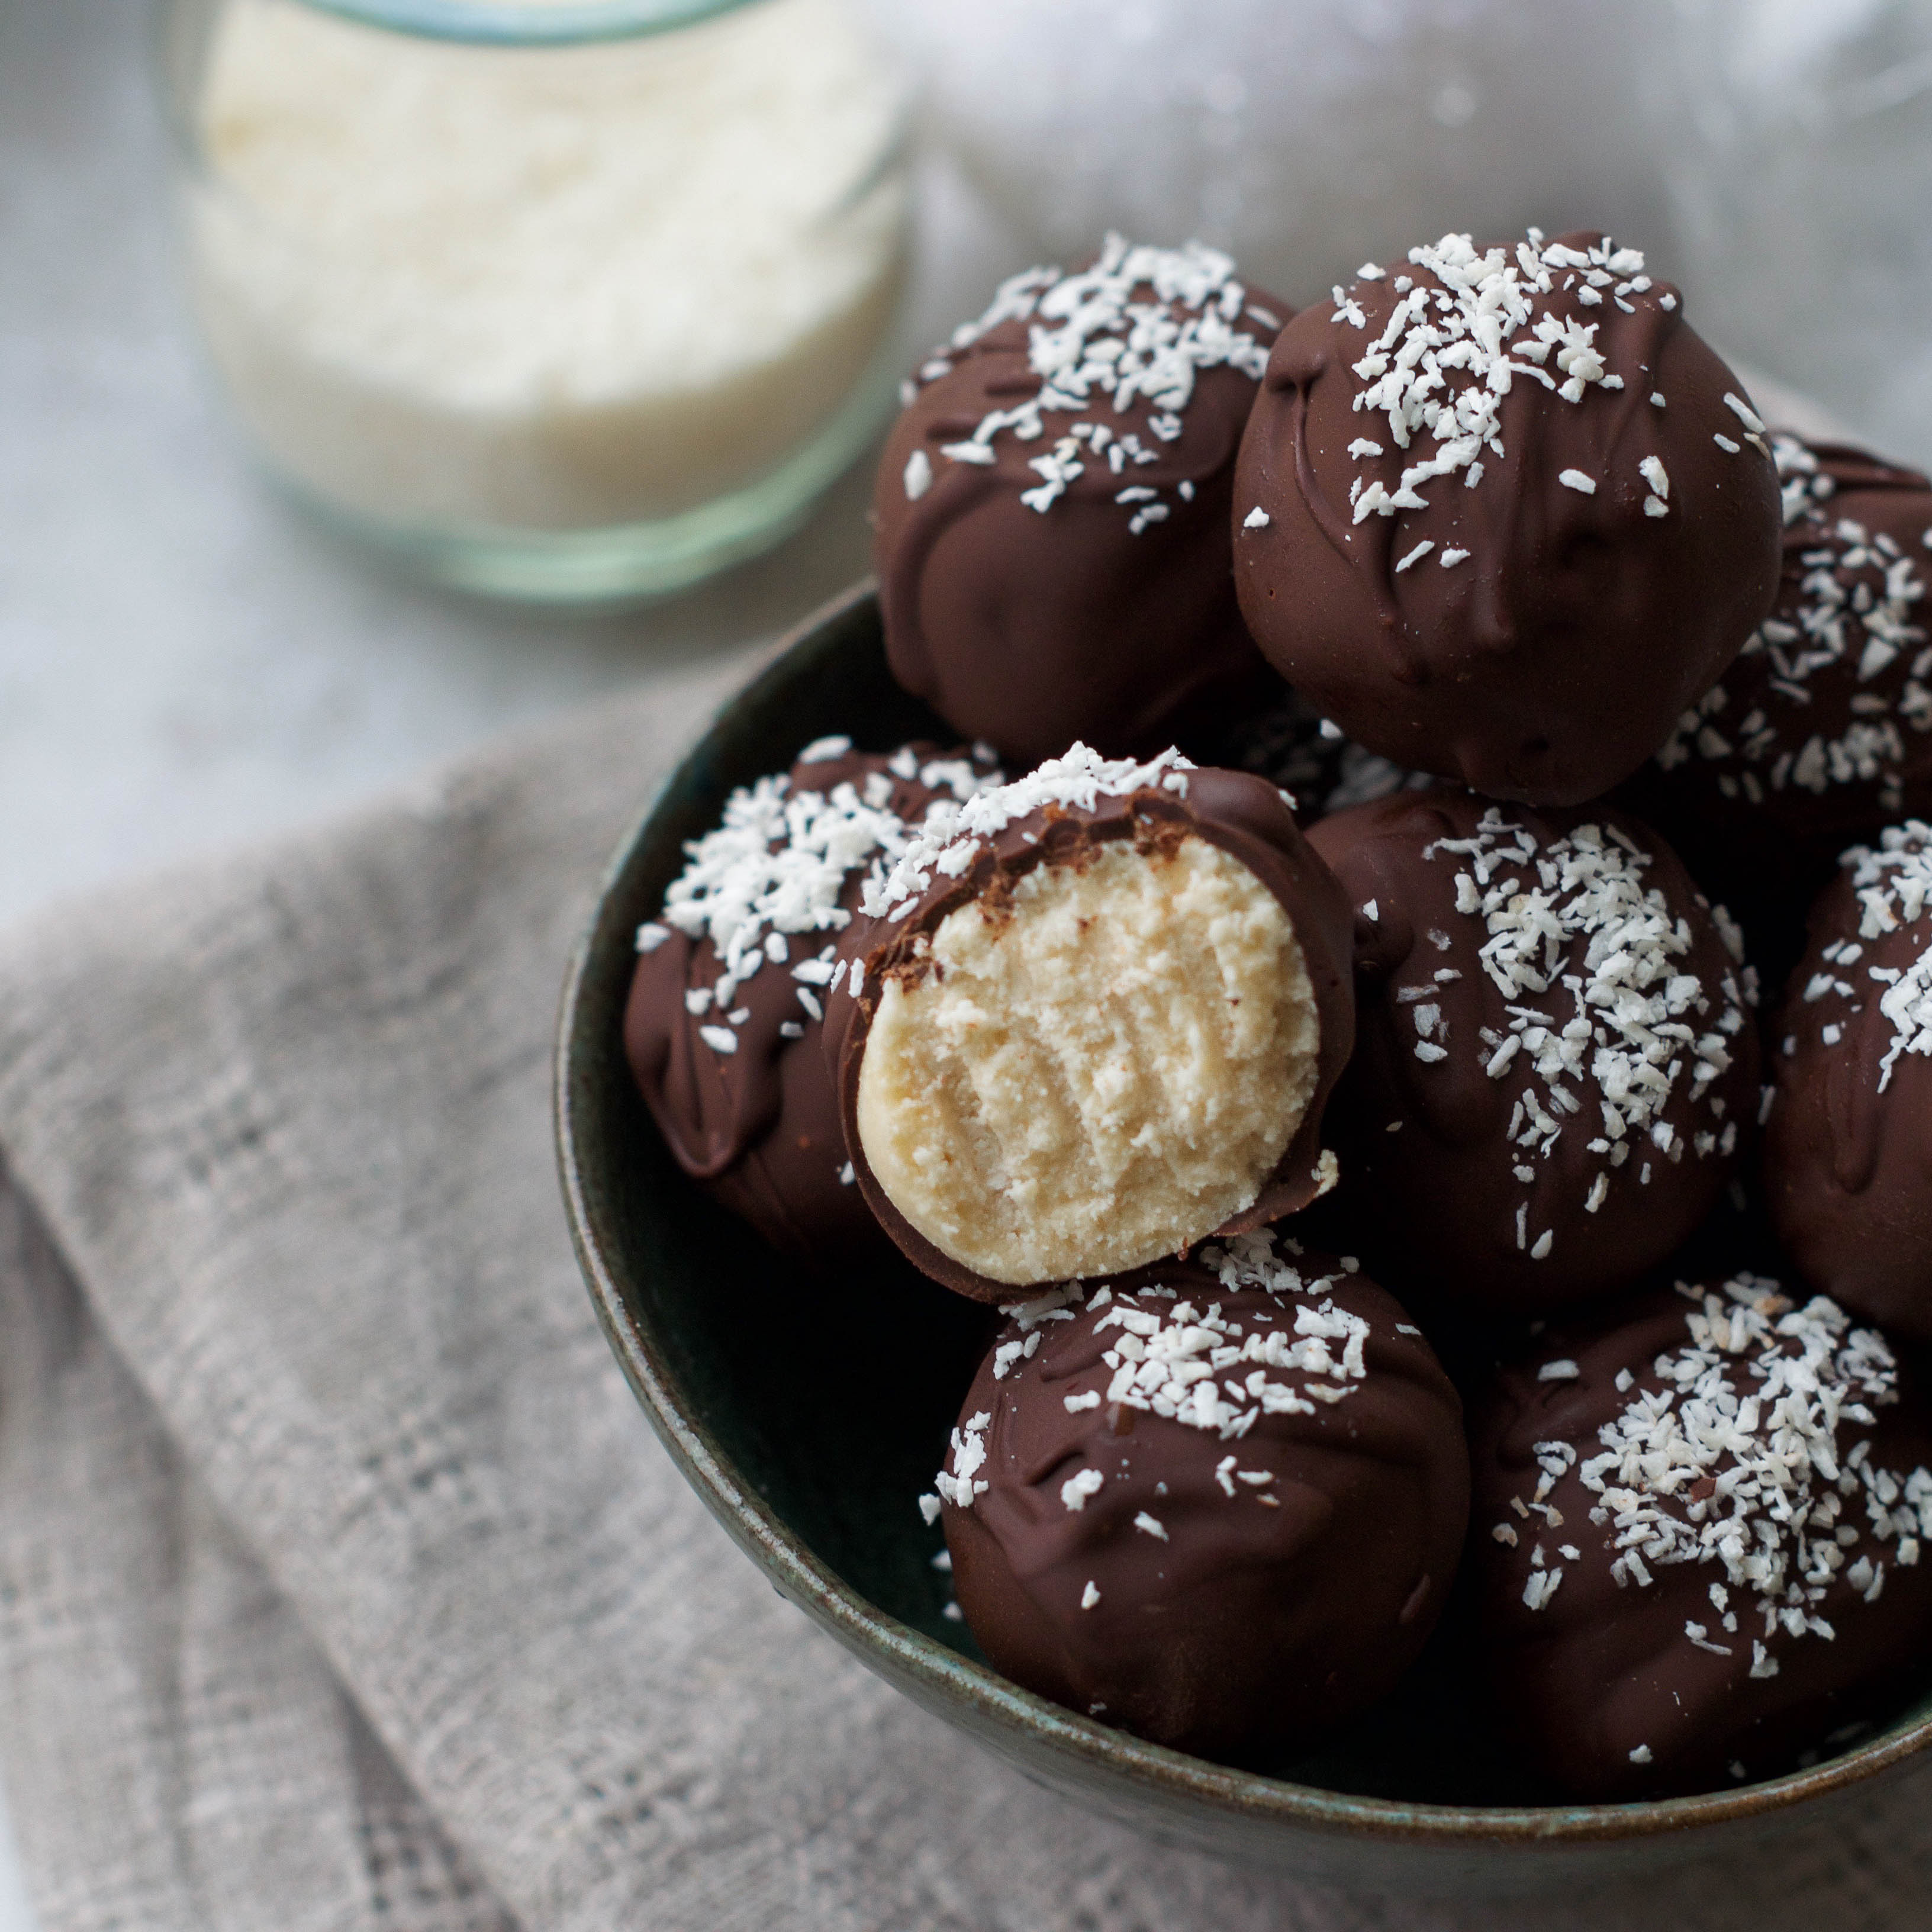
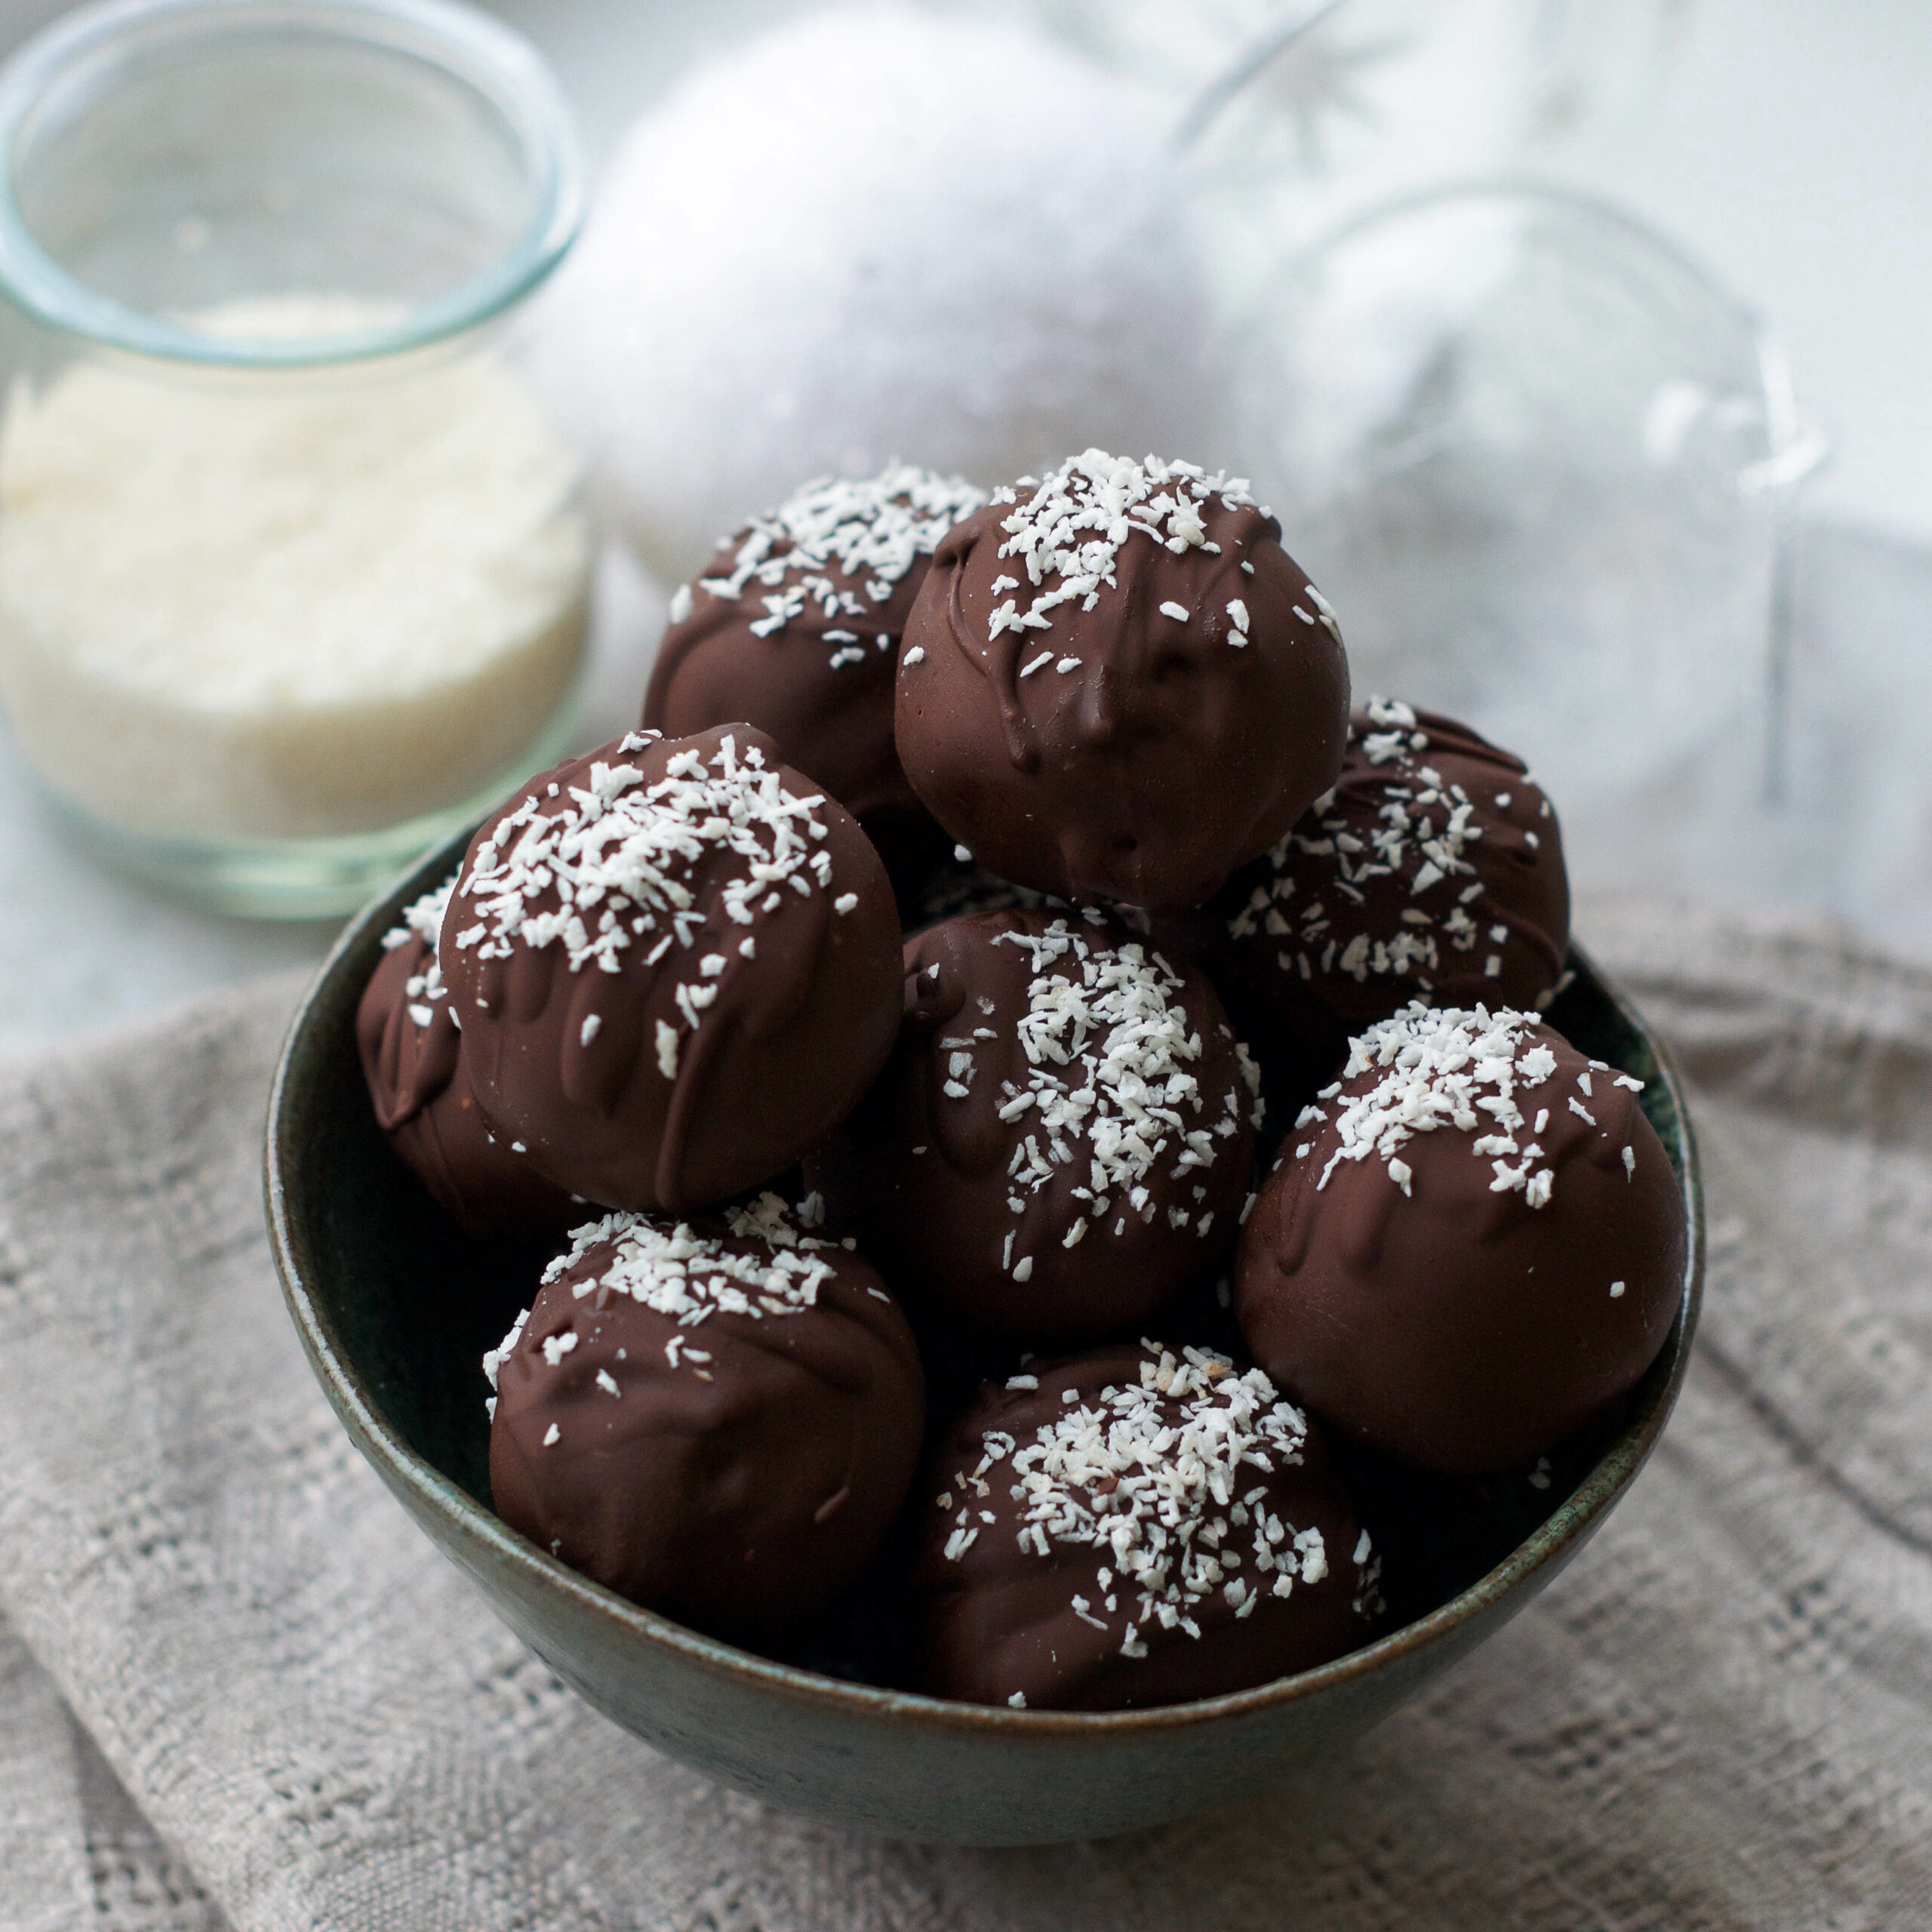
When chocolate is paired with coconut, it’s just heavenly. I mean, Chocolate + Coconut = big smile on your face. These Chocolate Coated Coconut Truffles may remind you a little bit of Bounty chocolate bars. Well, they’re a little bit inspired by these famous candy bars. But vegan. And filled with simple, healthier ingredients, definitely without compromising the taste !
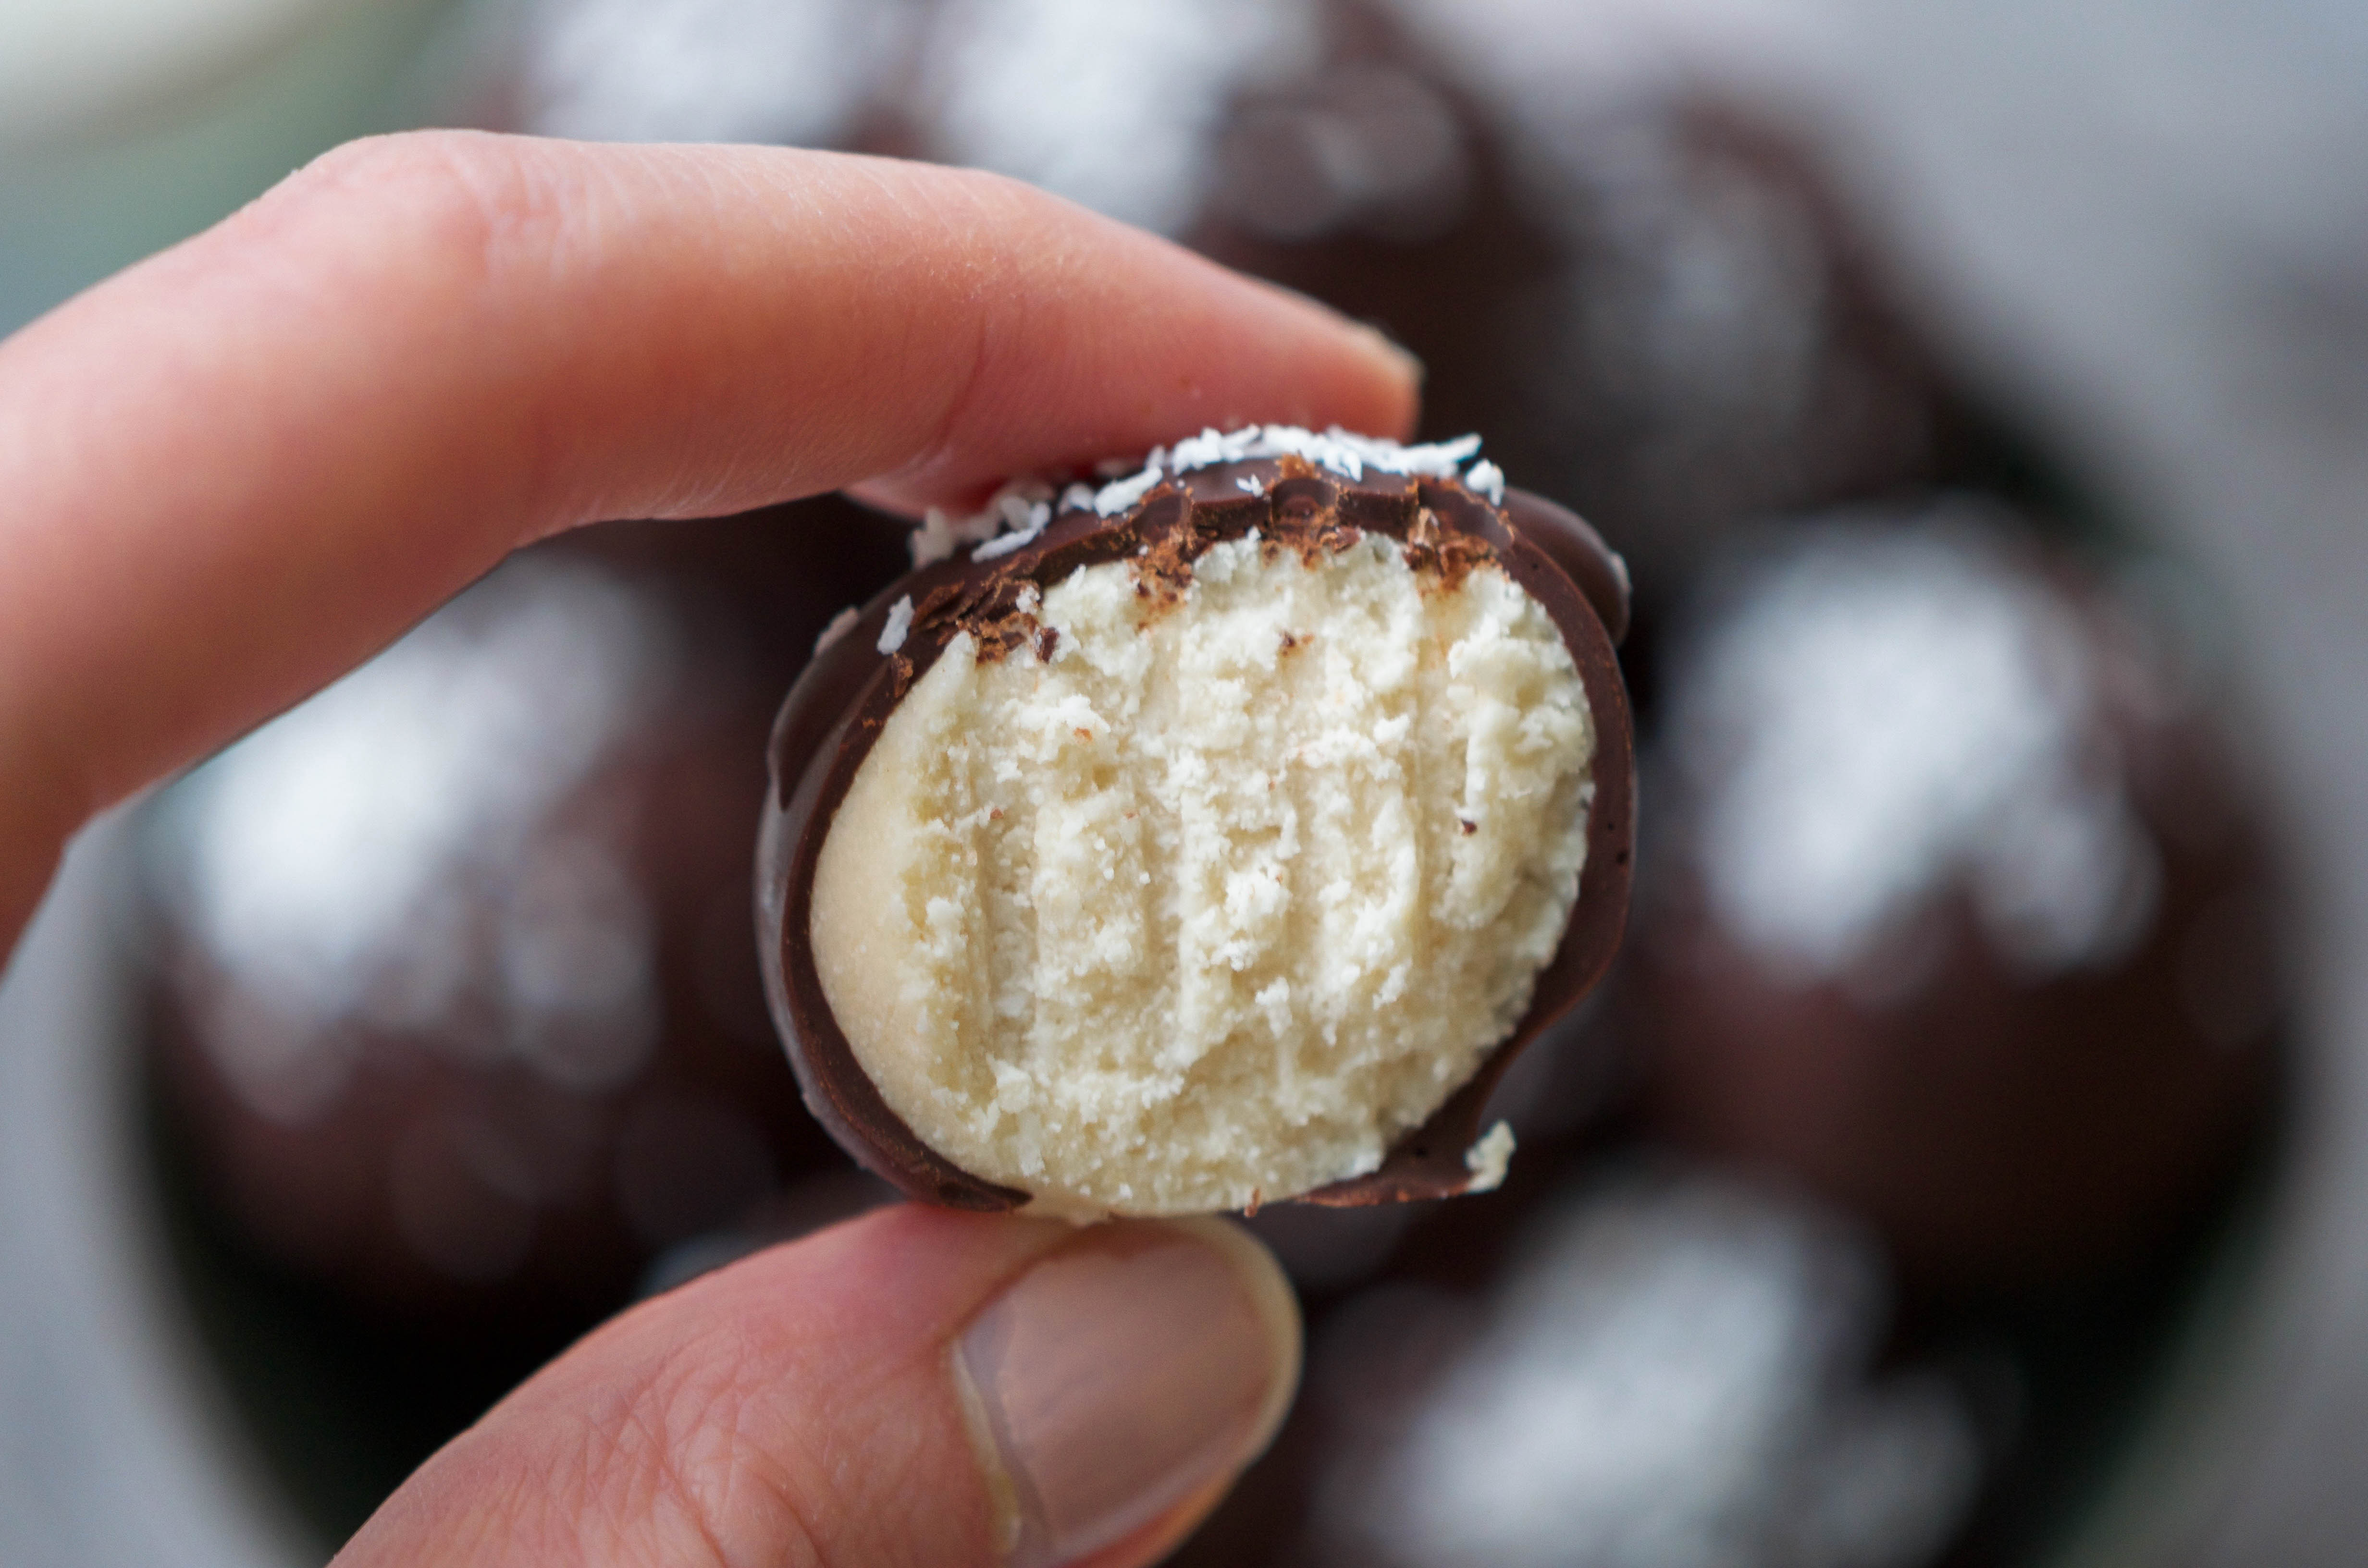
The recipe only requires 5 ingredients, and it’s so easy. Sure, you have to be patient while they set in the freezer, but trust me, it’s so worth it. These are the perfect little treats to enjoy with friends !
A few final notes:
- These truffles are not overly sweet. As you’ll get to see with this blog, I don’t like desserts or snacks that are too sugary (I’ve always been the kind of person that reduces the amount of sugar when following someone else’s recipe – I can’t help it – otherwise everything always seems too sweet for me !).
- These truffles taste way better if you use high quality dark chocolate (I like to use 70%). It makes the flavors more interesting and takes the truffles to another level of chocolate goodness.
Chocolate Coated Coconut Truffles
 (No Ratings Yet)
Ingredients
- 1/2 cup of coconut cream*
- 1/2 cup of coconut flour
- 1/2 cup of desiccated coconut, unsweetened
- 2 tbsp of maple syrup
- 1 tbsp of non-dairy milk (I used almond milk)
- 100g of vegan dark chocolate (I like 70%)
Instructions
The day before, place 2 cans of full-fat coconut milk in the fridge (one can may be enough, but it may change according to which brand you're using, so it's best to put two in the fridge just to be sure).
The next day, carefully scoop out the solid part on top of the cans of coconut milk: that's the cream we are going to use.
In a food processor, add the coconut cream, coconut flour, desiccated coconut, maple syrup, and non-dairy milk.
Blend until everything is well combined (it should be relatively sticky).
Then, using a tablespoon, roll the mixture into little balls. The tablespoon will make it easier to get truffles of the same size. You should get about 12 balls.
Place them on a tray/freezer safe dish, and then put it in the freezer for at least 1 hour.
After one hour, melt the chocolate on a double-boiler, on low heat. Stir often, and make sure it doesn't burn. You can also use a microwave to melt the chocolate, but be careful not to burn it: stop the microwave every 30 secondes and stir the chocolate, until it is melted.
Take the coconut balls out of the freezer, and coat them with the chocolate (using a fork to dip them is the easiest way). You can sprinkle them with a little bit of desiccated coconut before the chocolate hardens.
Put the truffles back in the freezer until the chocolate sets. This should take 15 to 30 minutes.
Wait for 5 minutes so they are not too cold, and enjoy ! Or leave them in the freezer to enjoy later. You can also put them in the fridge after the chocolate is set, and enjoy them for up to 5 days.
Notes
*For the coconut cream, I like to use 2 cans of full-fat coconut milk, that have chilled in the fridge overnight, and proceed as explained above. Keep the liquid to use it for smoothies, or for recipes that call for light coconut milk. Alternatively, you can buy coconut cream, but you still need to chill it overnight. According to the brand you're using, the cream may be more or less firm. It's best to chill it overnight to make sure the consistency is right.
Let me know what you think if you try this recipe ! Don’t forget to pin this recipe if you want to make it later. And if you share it on Instagram, tag me @wandersandgreens and use the hashtag #wandersandgreens, it would make me so so happy to see your recreations !


No Comments